.jpg)
Dahlberg's Flashdancer is a fly that should need no introduction but it certainly is less popular and not nearly as well known as the Dahlberg Diver, which is arguably the greatest topwater contribution to the world of fly fishing. However one statement that can not be argued, in my humble opinion, is that Larry Dahlberg has and is the greatest mind in fishing PERIOD! As a young child, I can remember watching and recording every Saturday, on VHS I might add, Larry's Hunt for Big Fish. This show as well as The Walker's Cay Chronicles were single handedly responsible for shaping the course of my life. I can remember certain segments where Larry wold tie flies or talk about certain patterns. Several of them stuck with me but I can vividly remember the Flashdancer and the underwater footage of it swimming and rebounding through the water column. It was completely mesmerizing! I had never seen anything like it up to that point in my life and I immediately had to learn how to tie it so that it could be applied in my day to day fishing. After many failed attempts at tying the fly and struggling with the deer hair portion I finally got one that seemed like it would work. I can distinctly remember that the few rivers close to me at the time were high and muddy so I had to sit and stew in my excitement and anticipation for several days. After finally being able to get out on the water, I had the chance to see this fly in action, it did not disappoint. It was unlike anything I'd seen or fished up to that point and I believe it was responsible for changing the way I perceived certain things from that moment forward.
This fly can be tied in a variety of sizes and with a variety of different hook styles. It can also be fished with either a floating or modern style sinking or intermediate fly line. In fact I recommend fishing it with both and learning how the fly shines and can be fished and applied differently based on the line it is being fished on. Either way you do it just make sure you tie a few up in different sizes and colors and fish it!
Step 1: Begin by laying down a solid base of thread from the eye extending back to just above the barb.

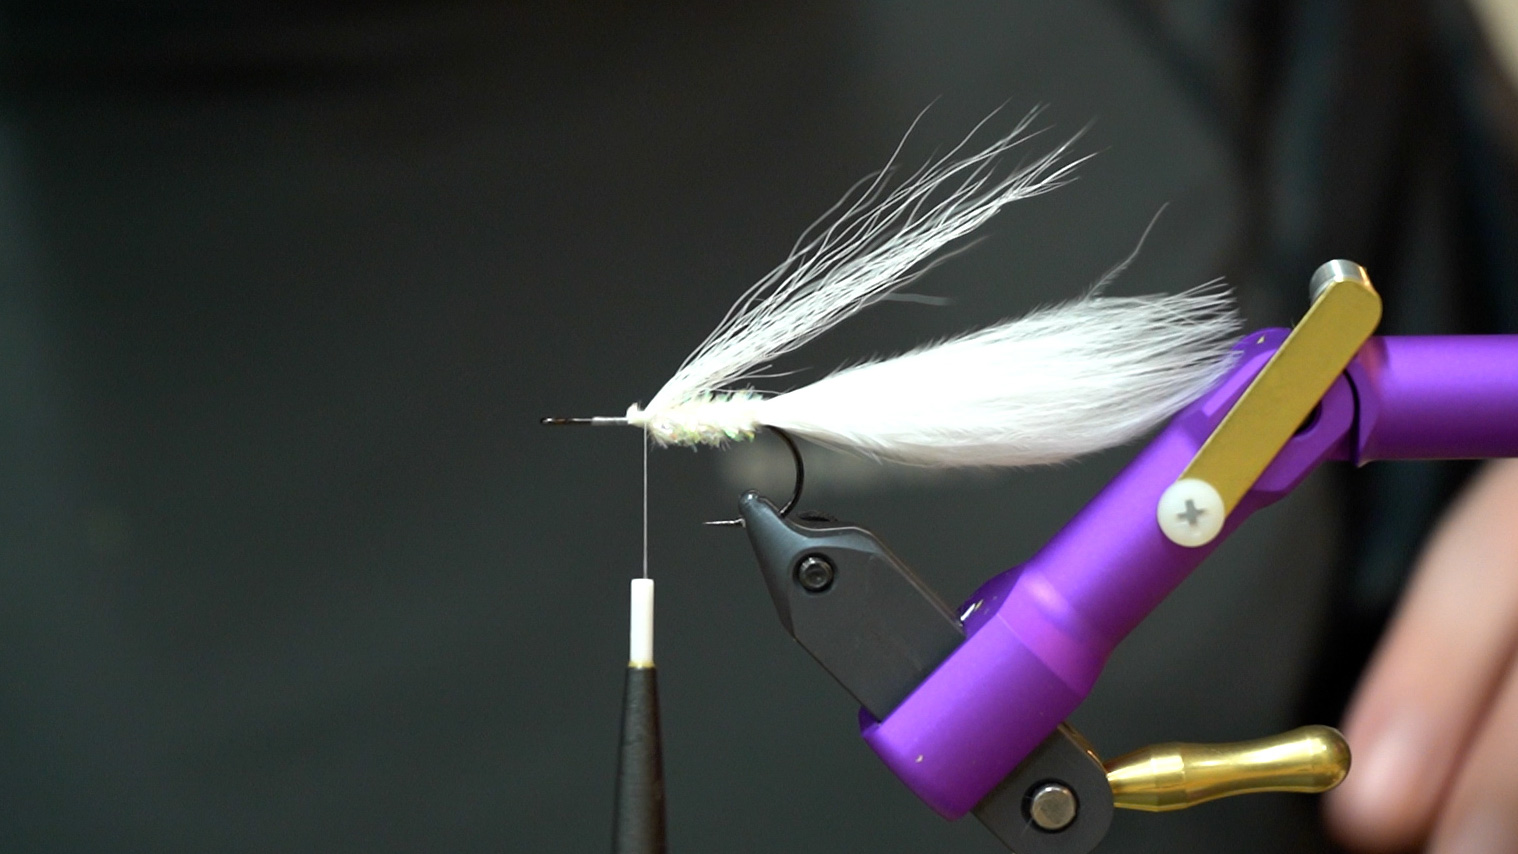
Step 2: Select one or two plumes of marabou approximately two hook shanks long. Tie in and secure above the barb. Wrapping over the marabou up the hook shank about half way. Securing the marabou further down the shank will ensure the material does not spin and rotate over time, making for a more durable fly.

Step 3: Return thread to the original tie in point just above the hooks barb and tie in the Speckled Crystal Chenille. Before lashing down the chenille, it helps to strip away some of the material exposing the thread core. Tying down by this core is much cleaner and will give you a more secure tie in. Wrap chenille about half way up the remaining shank and tie off.

Step 4: Select a very sparse bundle of bucktail and tie in just in front of your chenille. This piece should extend about 3/4 of the way along the marabou tail. A little tip that can result in a more durable fly would be to lay down just a small dollop of Z-Ment to the hook shank before tying down the bucktail. This is totally optional, but goes a long way with the durability of the fly.
Step 5: Select a generous bundle of flashabou (remember this is the fly's name sake, so it would be difficult to have too much) and fold the material in half. Once folded in half, take the flashabou and fold in half one more time, this time folding it around your thread, secure to the top half of the hook shank. It should rest on top of and slightly blend in with the bucktail wing below it.

Step 6: Select about a pencil width worth of deer hair (can be body or belly depending on how much buoyancy and recovery you want in the fly) and slide into a hair stacker tips down. Once firmly stacked, carefully remove the hair trying to keep the tips as even as possible. When tying down the hair, you want the tips to extend to approximately between the barb and the bend of the hook. Lay down another small drop of Z-Ment. Holding the hair with your material hand, cut the butts flush, giving yourself just enough material to grab with your thread. Make two or three loose wraps then tighten down. If done properly you will be left with what looks like the perfect Elk Hair Caddis head. Advance your thread in front of the butts and prepare for the next steps.

Step 7: Select another pencil width bundle of hair and spin evenly 360 degrees around the hook shank. Advance thread in front of hair and repeat this step one more time with the same amount of hair. If the amount of hair and spacing is correct this will bring to the eye of the hook. Whip finish and finish your thread head with Z-Ment of your favorite fly tying glue.

Step 8: Bend a double sided razor blade and with a rounded upward motion, sweep the blade back and stop before you reach the collar. Move carefully and slowly as to not cut your collar off. The shape you are going for is a Zoo Cougar style head or a larger broader version of a Muddler.

Step 9: Once the top half of the fly looks the way you want, flip the fly over and make a flat straight cut on the bottom half. Stabilizing your cutting hand will help ensure your cut is nice and even.

Step 10: Most of the cutting should be done at this point. Scissors are a great way to nock off any edges and smooth things over before calling it a finished fly. Careful not to over do it with the scissors. If you have OCD it can be easy to keep cutting until the is nothing left.


Recipe:
Thread: GSP White 100 Denier
Hook: Partridge Universal Predator #4
Tail: Strung Marabou
Body: Speckled Crystal Chenille
Wing #1: Bucktail
Wing #2: Dyed Mirage Lateral Scale Flashabou
Collar: Deer Body Hair or Deer Belly Hair
Head: Deer Body Hair or Deer Belly Hair
Cement: Wapsi Z-Ment
Watch the Video Here:
