
The Super Shad is my take on the ever popular Zoom Super Fluke. For anyone who doesn't know, the Zoom Super Fluke is a soft plastic jerkbait. It was designed to swim in a very erratic fashion when pulled on and also look like a dying baitfish on the pause. It doesn't take fishing the Super Fluke very long to figure out that fish love to eat this lure after it is stopped. By playing a game with the overall weight of the hook, you could determine how fast or slow the fluke would sink at rest. Getting this sink rate dialed in on any given day often times is the difference between that bait catching a fish or two or that bait flat out putting the smackdown on fish.
When I first started playing around with this fly pattern, I wanted the fly to sink in a way that closely resembled the Super Fluke. That is, rather than a head dive, I wanted more of a horizontal shimmy. If you look at the tail design of this fly the saddles are tied in "tented style" which means they come together like an upside down V. When tied this way it allows the feather to cup and cradle water as it drops through the water column. This creates a really nice wobble or roll to the fly on the way down. Also, to increase the amount of water being grabbed while sinking, I added a stiff pair of flank feathers resembling Galloup's Zoo Cougar or Schultzy's Swingin' D right off the back of the fly. This also aids in the flies ability to rock and move in a side to side fashion while sinking. The head design was simple. I knew I wanted it to be shaped mostly flat and fairly tall like a shad. The durability and ease of shaping you can achieve with a brush made it the obvious choice. Through trial and error I realized the fly's head was not dense and buoyant enough. It would either sink to quickly head first, causing the fly to sink to vertically or the head was too buoyant and wouldn't sink enough. Through more research and talking with some people far more talented than myself (Blane Chocklett and Mike Schultz) I learned about the use of the EP Crustaceous Brush. This brush brought the perfect combination of density and buoyancy to the fly and was responsible for achieving the horizontal fall I desired. Now, once on the water you can refine and dial in the sink rate further with the use of keels and varying amounts of lead wire around the bend of the hook.

Step 1: Insert a 20mm shank into your vise and lay down a solid foundation of thread from front to back.

Step 2: Tie in Chocklett's Finesse Chenille- Large and wrap very tight side by side wraps until you reach the middle of the hook and tie off.


Step 4: Marry two schlappen feathers together and and palmer them up the remainder of the shank and tie off.

Step 5: Select two straight Mallard or Silver Pheasant Flank feathers. I can not overstate the importance of getting two straight symmetrical flank feathers. This will play a big role in the action of the fly being right and not twisted or out of balance.

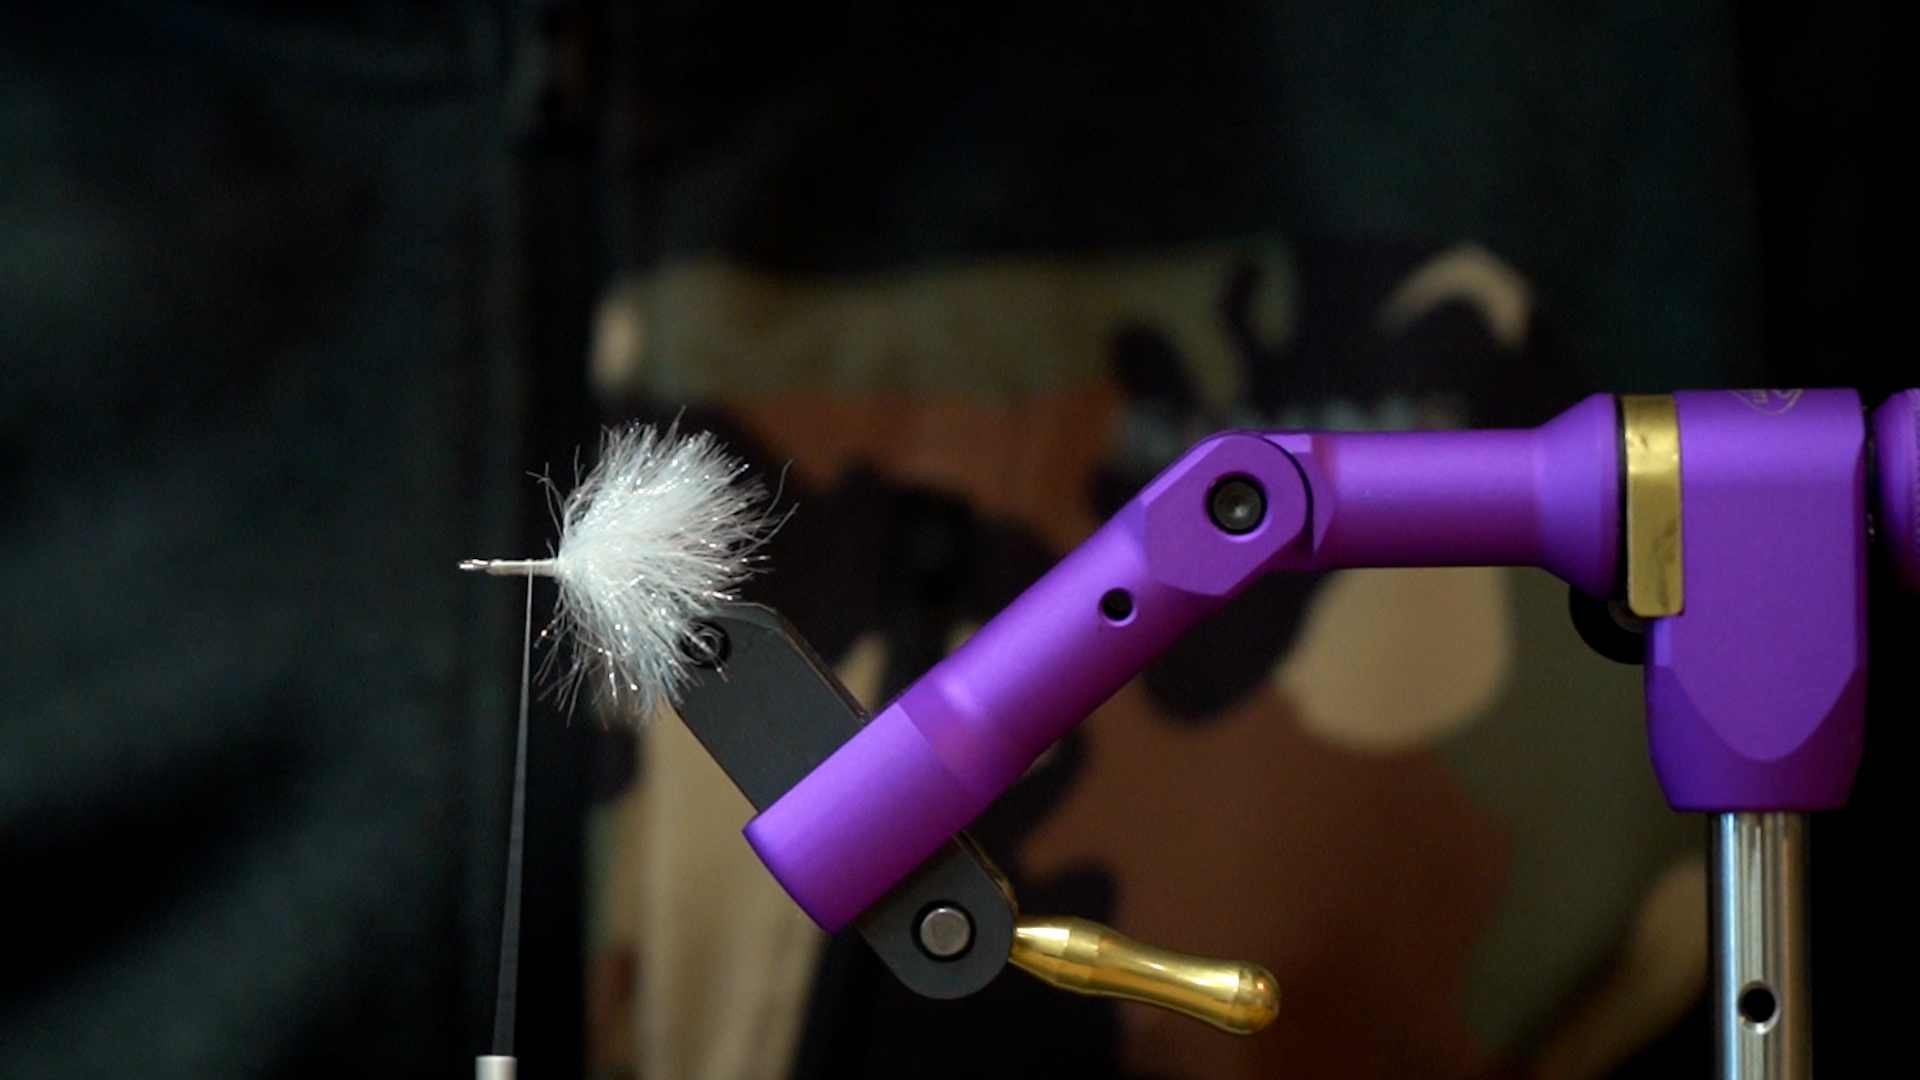
Step 6: Insert the SA280 #2/0 hook into your vise. At this time you can attach and wrap your .025 lead wire to the bend or after the fly has been tied and your on the water. It's nice having the flexibility to dial in your keel weight once you are on the water fishing but once you tie this fly enough you'll just know how much lead wire you will need to make the fly ride the way you want in the water. Tie in your articulation wire on top of the hook and secure it down into the bend just enough so that when you bring it back around to secure it, your loop sits flush with the eye of your hook.


Step 7: Select a long webby schlappen feather and tie in with a piece of UV Gold Polar Chenille- large. Before you wrap this up the hook you will want to spin the two together creating a "brush" or what some people call a "complex twist". This is an old Lefty Kreh trick that makes for an easier and more durable fly. Once twisted together, palmer using tight side by side wraps up the hook shank until you reach just above the hook point and tie off.


Step 8: Cut off several bundles of craft fur and hand stack them together so the tips are somewhat aligned. Lay on top of the hook reverse style with the tips pointing forward and distribute the material evenly 360 degrees around the hook. You'll want to leave a fair amount of the butts on the craft fur as it will serve as a nice support for the longer fibers when you pull them backwards into place. Pull the fibers backwards and secure with thread wraps creating what is known as a "bullet tie"


Step 11: Make a couple of rough cuts along the side (cheeks) of the fly. This will begin to create the tall flat profile. When the sides are cut somewhat flat lay down a small dollop of Loctite Gel and glue 3D eyes into place.


Thread: Veevus 140 Power Thread